Introducing our avant-garde sewing pattern crafted exclusively for drag queens – the Majestic Shrug Cape. This unique piece is designed to introduce a touch of theatrical drama and an ethereal silhouette to any ensemble. With elongated sleeves seamlessly transitioning into a free-flowing cape, this shrug moves with grace and elegance, capturing the essence of dramatic flair. Its open-front design is accentuated with a provision for a chic buckle or clasp right above the chest, offering both style and security. Tailored ideally for lightweight fabrics such as organza, the translucence adds to its mystique, creating a delicate and airy appearance. Wear it atop any outfit to instantly elevate your look, adding a splash of grandeur and finesse. Whether you're strutting on stage or simply aiming to make a statement at a gala, this shrug is your ticket to instant limelight.
Sizing Details
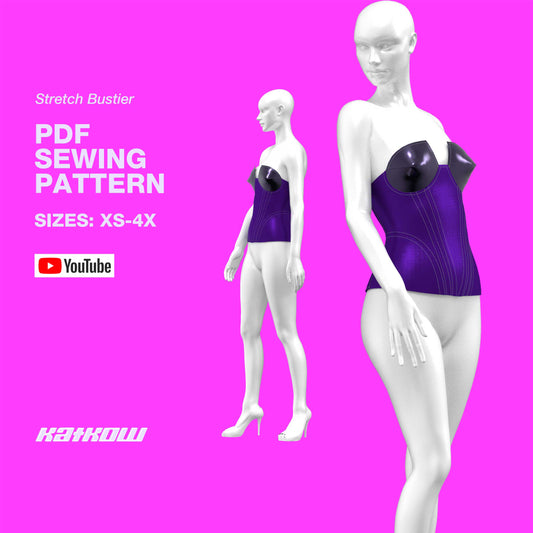
This pattern comes with sizes XS - 4X. Our sizes are unique and made for drag queens so please review our for measurement guide for more information on our size measurements.
Fabric Suggestions
Suitable for lightweight fabrics:
- Organza
- Chiffon
- Georgette
- Voile
- Charmeuse
- Lightweight Knits
Notions
- 1.5 inch buckle or clasps for front closure. Or you can use button, snaps, or velcro.
Fabric Yardage
This pattern requires a lightweight fabric. Please find the yardage needed for each size below.
| Size | Fabric Yardage (60” width) |
|---|---|
| XS | 2.5 yards |
| S | 2.5 yards |
| M | 2.75 yards |
| L | 2.75 yards |
| XL | 3 yards |
| 2X | 3 yards |
| 3X | 3 yards |
| 4X | 3 yards |
For information on converting inches to meters, please check out our conversion guide.
Sewing Instructions


STEP 1
Begin by gathering the front and front sleeve fabric pieces. Place them with their right sides facing each other, then pin along the sleeve curve.

STEP 2
Sew them together along the sleeve curve using a straight stitch, zig-zag stitch, or a serger. Follow the same process for the opposite front piece.

STEP 3
At this point, you should have two distinct front pieces assembled.

STEP 4
For the back, gather the back and back sleeve pieces. Like the front, place them with their right sides facing each other and pin along the sleeve curve.

STEP 5
After pinning, sew them together along the sleeve curve.

STEP 6
You'll now have a single assembled back piece.

STEP 7
Prepare for the main assembly by laying out your two front pieces right side up. Overlap the cape on the front pieces with the wrong side up, and then layer the back piece over the cape, also with the wrong side up.

STEP 8
Ensure the layers are aligned along the sleeve, shoulder, and neck edges. Once aligned, pin the layers together and proceed to sew along the sleeve and shoulder seams.

STEP 9
Begin rolling the cape layer upwards, starting from its bottom. The aim is to neatly tuck it within the confines of the sleeves.

STEP 10
With the cape rolled up inside the sleeves, sew the sleeves together and the sides front and back side seams, right sides facing each other.

STEP 11
Turn the garment right side out through the neck hole. Begin hemming the exposed edges, including the neckline, bottom of the shrug, sleeve openings, and the bottom edge of the cape. For a neat finish around the cape attachment, use a seam ripper around the sleeve.

STEP 12
Once all hemming is complete, attach your chosen lightwieght front closure. Choose a button, snap, velcro, buckle or clasp. This pattern is tailored for hardware that's 1.5 inches in size.
Paper Pattern Assembly
For information on how to assemble your downloaded pdf pattern, please check out our printing guide.